安装多版本的php
sudo ./install.sh mphp
Install ZendGuardLoader for PHP 7.1...
unavailable now.
Write ZendGuardLoader to php.ini...
Creating new php-fpm configure file...
Copy php-fpm init.d file...
Add php-fpm7.1 service at system startup...
insserv: script php-fpm7.1: service php-fpm already provided!
+-------------------------------------------+
|    Manager for LNMP, Written by Licess    |
+-------------------------------------------+
|              https://lnmp.org             |
+-------------------------------------------+
Starting LNMP...
Starting nginx...  done
Starting mysql (via systemctl): mysql.service.
Starting php-fpm  done
Starting php-fpm  done
===========================================
You have successfully install php-7.1.7
===========================================
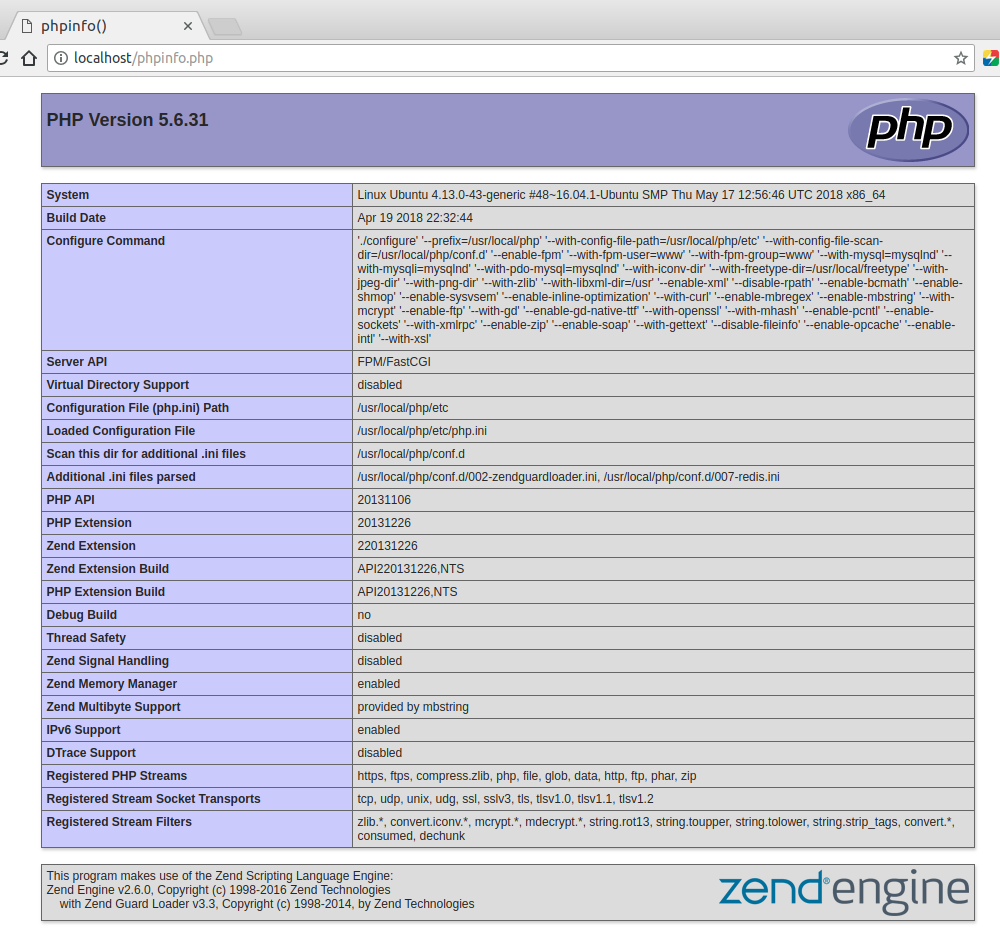
这个时候,你会发现,系统中已经有了多个php
$ whereis php
php: /usr/bin/php /usr/local/php /usr/local/php7.1
具体如何使用,还是要看nginx如何配置。
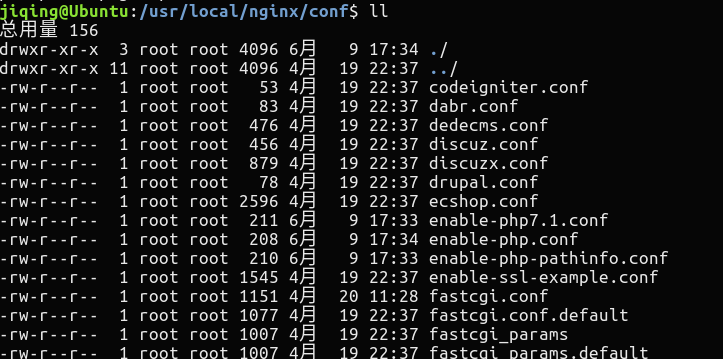
这里面多了一个enable-php7.1.conf
我们创建nginx 的vhost配置时,设置为7.1就可以了,例如
server
    {
        listen 80;
        #listen [::]:80 default_server ipv6only=on;
        server_name jiqing.php7proj.com;
        index index.html index.htm index.php;
        root  /home/wwwroot/default/php7proj;

        #error_page   404   /404.html;
        include enable-php7.1.conf;

        location /nginx_status
        {
            stub_status on;
            access_log   off;
        }

        location ~ .*\.(gif|jpg|jpeg|png|bmp|swf)$
        {
            expires      30d;
        }

        location ~ .*\.(js|css)?$
        {
            expires      12h;
        }

        location ~ /\.
        {
            deny all;
        }

        access_log  /home/wwwlogs/access.log;
    }
重新启动lnmp
sudo lnmp restart
+-------------------------------------------+
|    Manager for LNMP, Written by Licess    |
+-------------------------------------------+
|              https://lnmp.org             |
+-------------------------------------------+
Stoping LNMP...
Stoping nginx...  done
[ ok ] Stopping mysql (via systemctl): mysql.service.
Gracefully shutting down php-fpm . done
Gracefully shutting down php-fpm . done
Starting LNMP...
Starting nginx...  done
[ ok ] Starting mysql (via systemctl): mysql.service.
Starting php-fpm  done
Starting php-fpm  done
这个时候,就可以了。
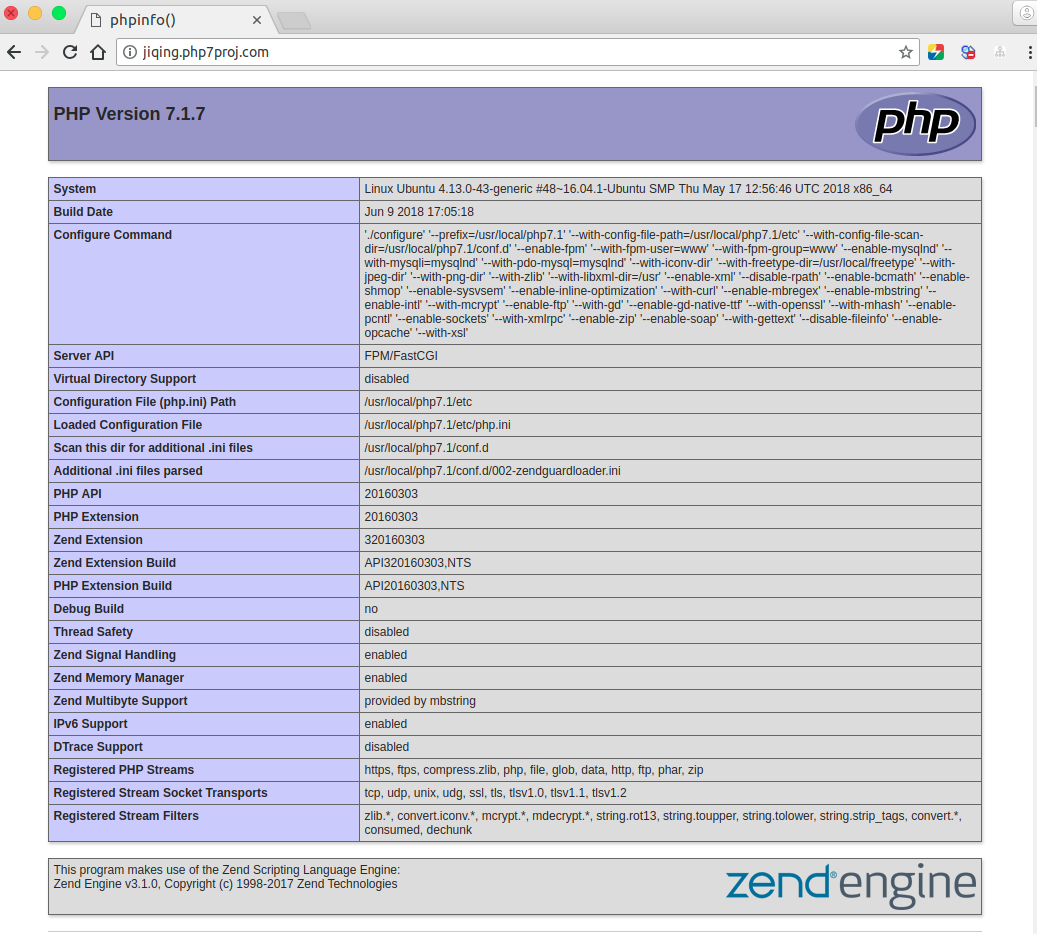
这样就两个都可以使用了!
为php7安装redis扩展。
1.下载
sudo wget https://pecl.php.net/get/redis-4.0.2.tgz
2.解压
sudo tar -zxvf redis-4.0.2.tgz
3.通过phpize初始化
whereis phpize
phpize: /usr/bin/phpize
root@Ubuntu:/opt/redis-4.0.2# sudo /usr/bin/phpize
Configuring for:
PHP Api Version:         20131106
Zend Module Api No:      20131226
Zend Extension Api No:   220131226
4.安装
sudo ./configure --with-php-config=/usr/local/php7.1/bin/php-config
5.make
# make
# make test

Build complete.
Don't forget to run 'make test'.


+-----------------------------------------------------------+
|                       ! ERROR !                           |
| The test-suite requires that proc_open() is available.    |
| Please check if you disabled it in php.ini.               |
+-----------------------------------------------------------+
make test 报错,修改php.ini,去除proc_open限制。
然后继续make test ,没问题了。
6.make install
7.添加php.ini中
extension=redis.so
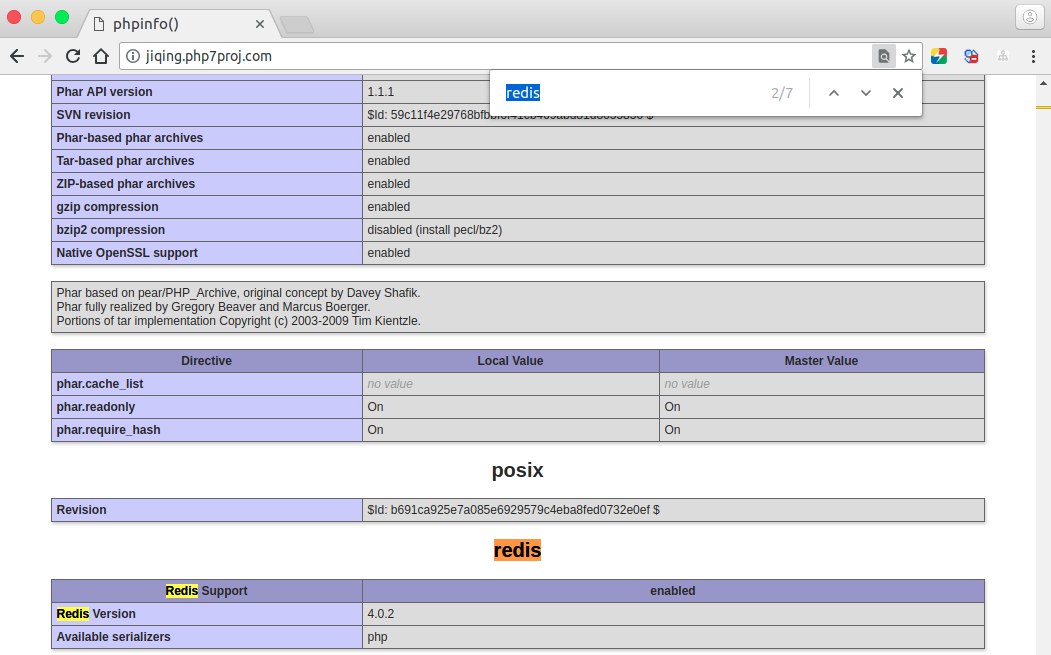
可以了,重启一下lnmp。
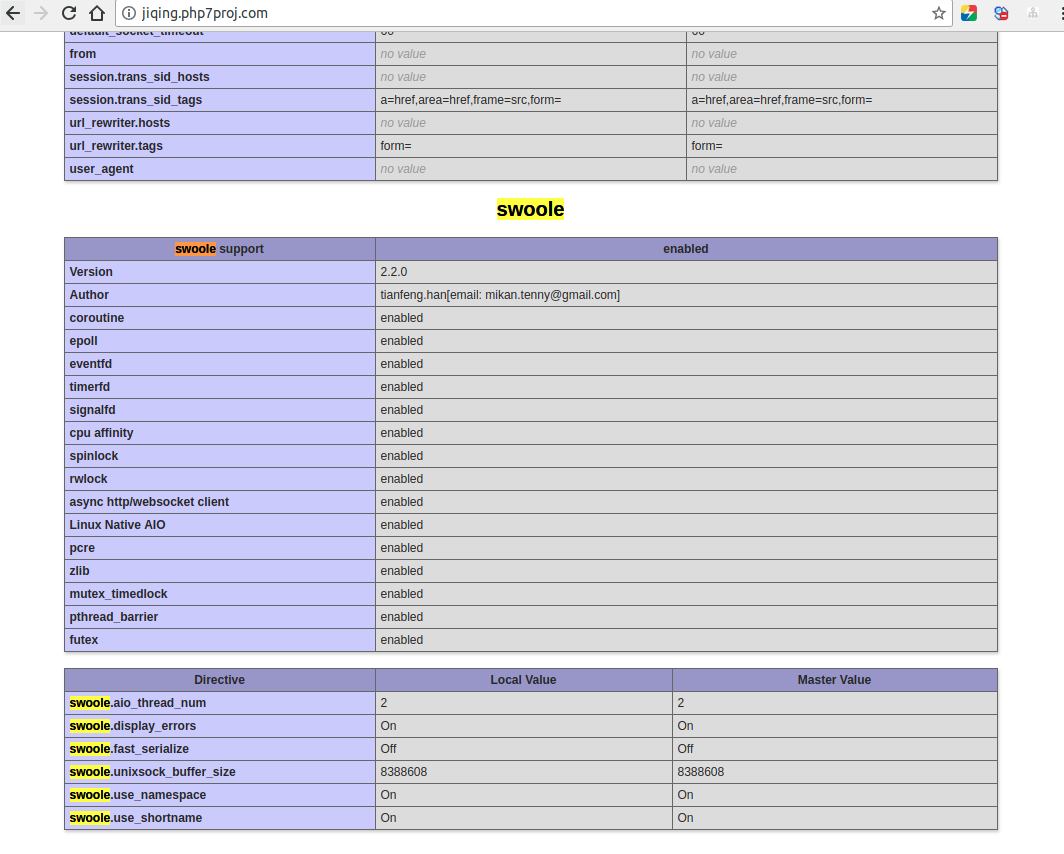
继续安装swoole扩展!
1.下载
wget https://github.com/swoole/swoole-src/archive/v2.2.0.tar.gz
2.解压
tar -zvxf v2.2.0.tar.gz
3.phpize初始化
root@Ubuntu:/opt/swoole-src-2.2.0# /usr/bin/phpize
Configuring for:
PHP Api Version:         20131106
Zend Module Api No:      20131226
Zend Extension Api No:   220131226
4.安装
sudo ./configure --with-php-config=/usr/local/php7.1/bin/php-config
关闭proc_get_status
5.make && make test
6.make install
7.配置添加php.ini中
extension=swoole.so
重启lnmp